This article is for FMI Works users with the permission of Coordinator, Manager or Administrator
Overview of the Planned Job Wizard
The Planned Job Wizard includes five steps in the creation of a Planned Job.
- Step 1, setting up core work order information.
- Step 2, setting the frequency cycle.
- Step 3, adding assets.
- Step 4, adding further details.
- Step 5, adding documents and reviewing.
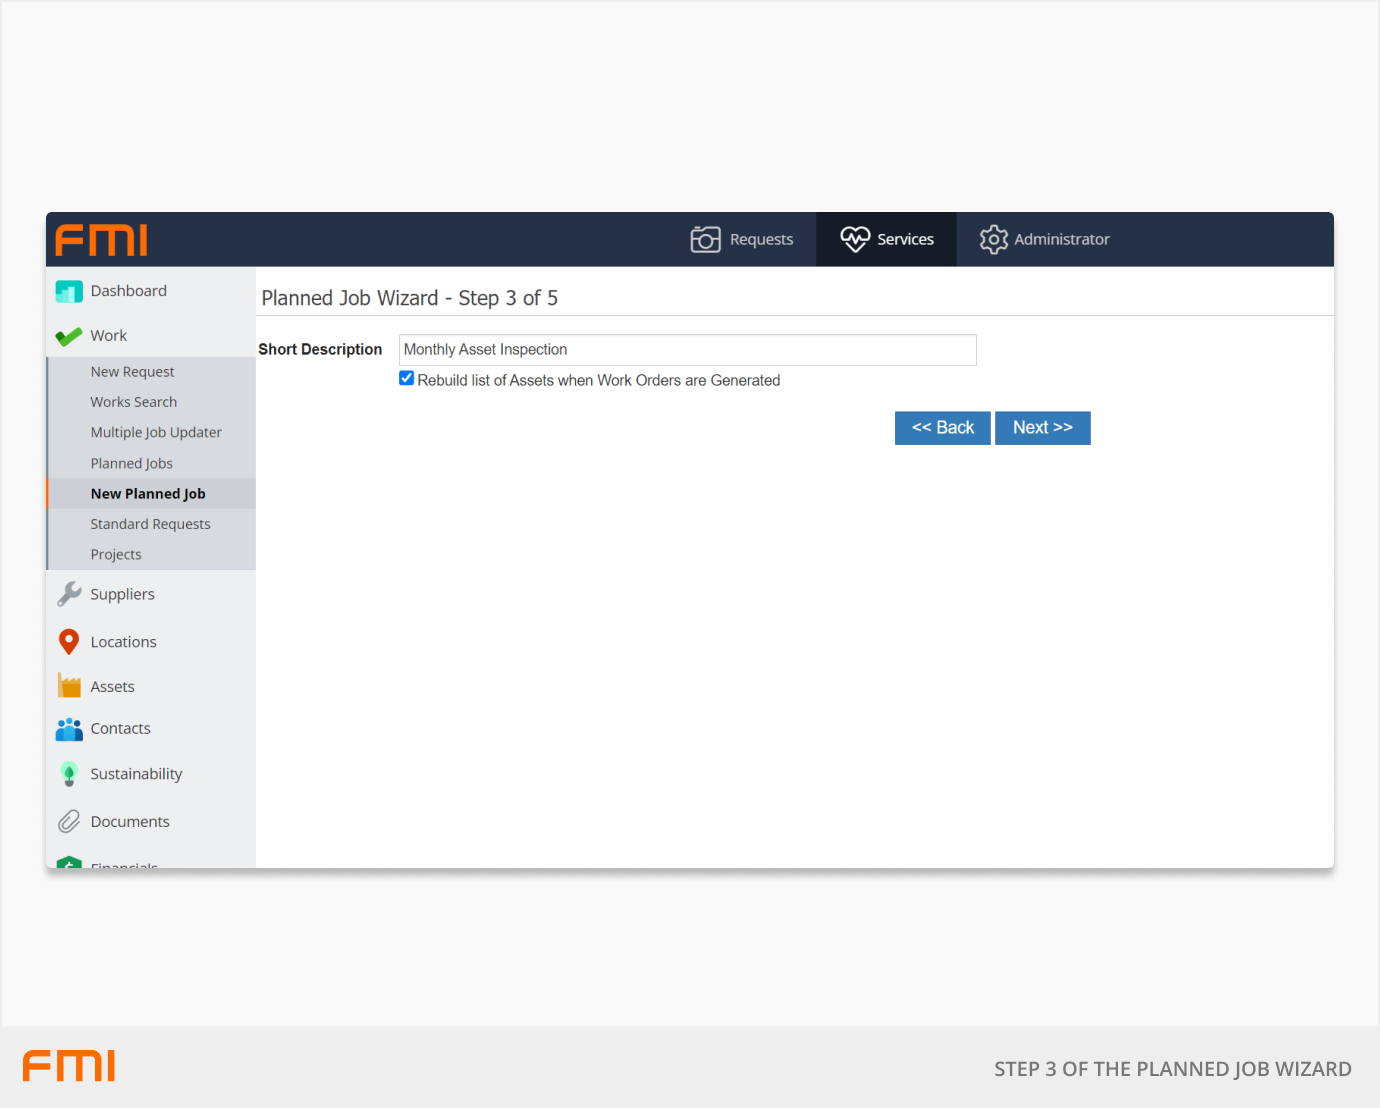
Step 3: Adding assets
After completing Step 2, move on to Step 3.
Step 3 allows you to choose a group of assets to associate with the Planned Job schedule. This results in the asset list being rebuilt each time the work order is generated and relies on the asset register being maintained accurately.
The above example is based on an Asset Group resulting in all assets within the Group being associated with the Preventative Maintenance Schedule.
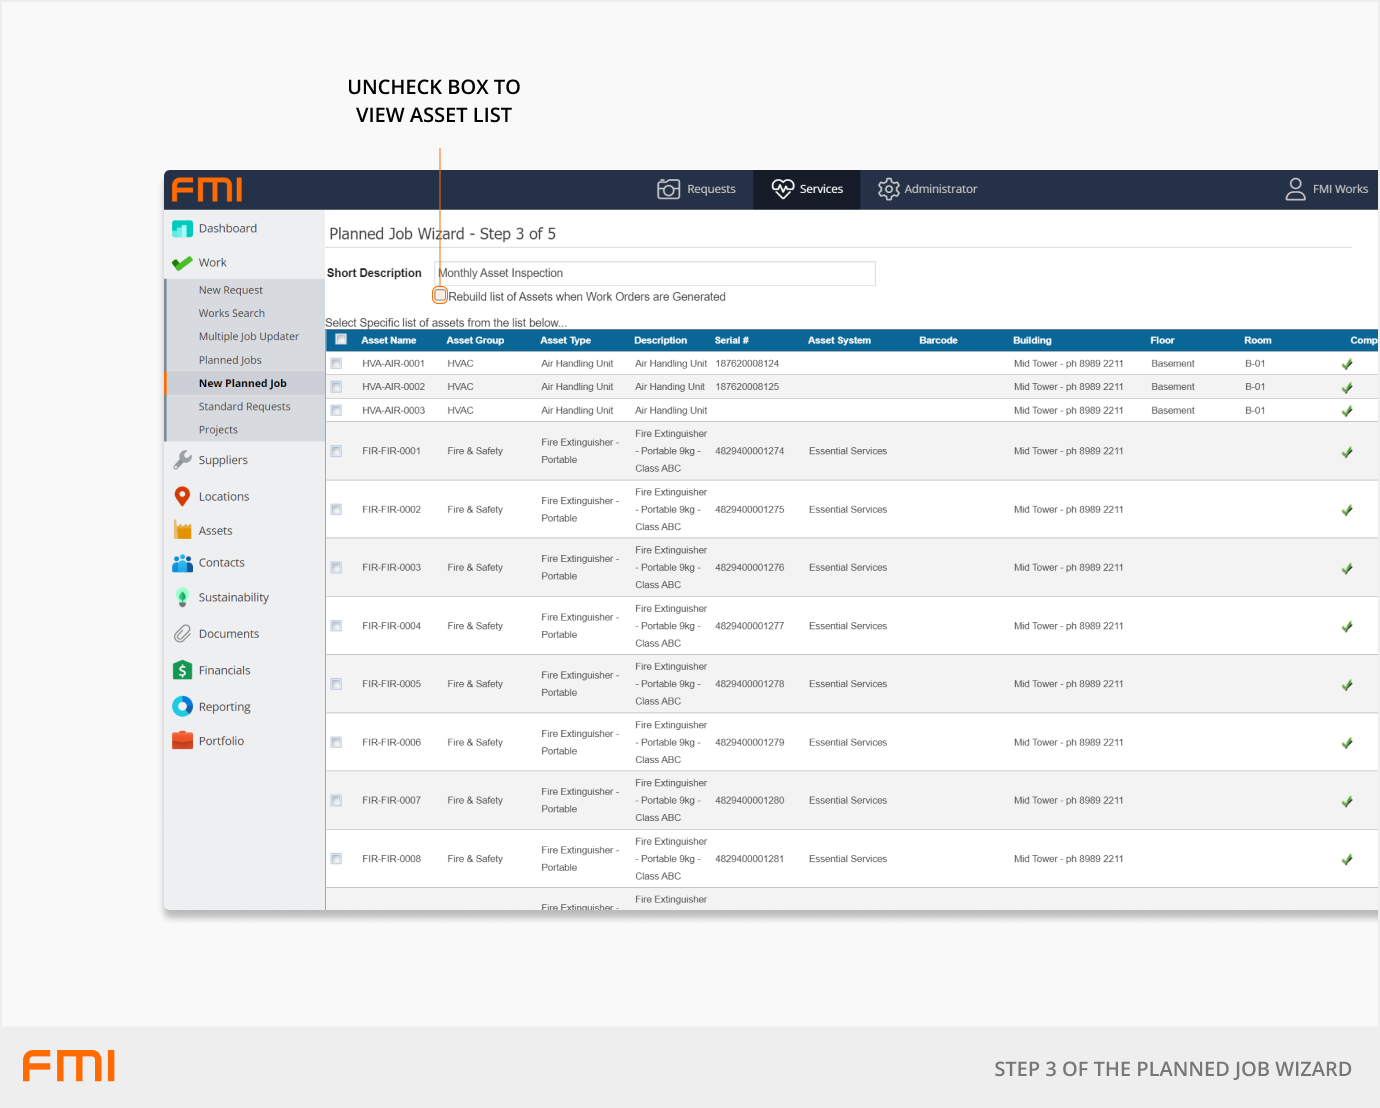
To ensure you have the required list of assets, untick the Rebuild tick box to see the list of assets displayed is as expected. Tick the box if the list is correct and move on to next step.
More information
For an overview of Planned Jobs, see Getting Started with Planned Maintenance.
Or move on to How to use the Planned Jobs Wizard: Step 4.