This article is for FMI Works users with the permission of Coordinator, Manager or Administrator
Overview of the Planned Job Wizard
The Planned Job Wizard includes five steps in the creation of a Planned Job.
- Step 1, setting up core work order information.
- Step 2, setting the frequency cycle.
- Step 3, adding assets.
- Step 4, adding further details.
- Step 5, adding documents and reviewing.
Step 4: Adding further details
After completing Step 3, move on to Step 4.
Step 4 allows you to add more details to the Planned Job, which will appear on the work order.
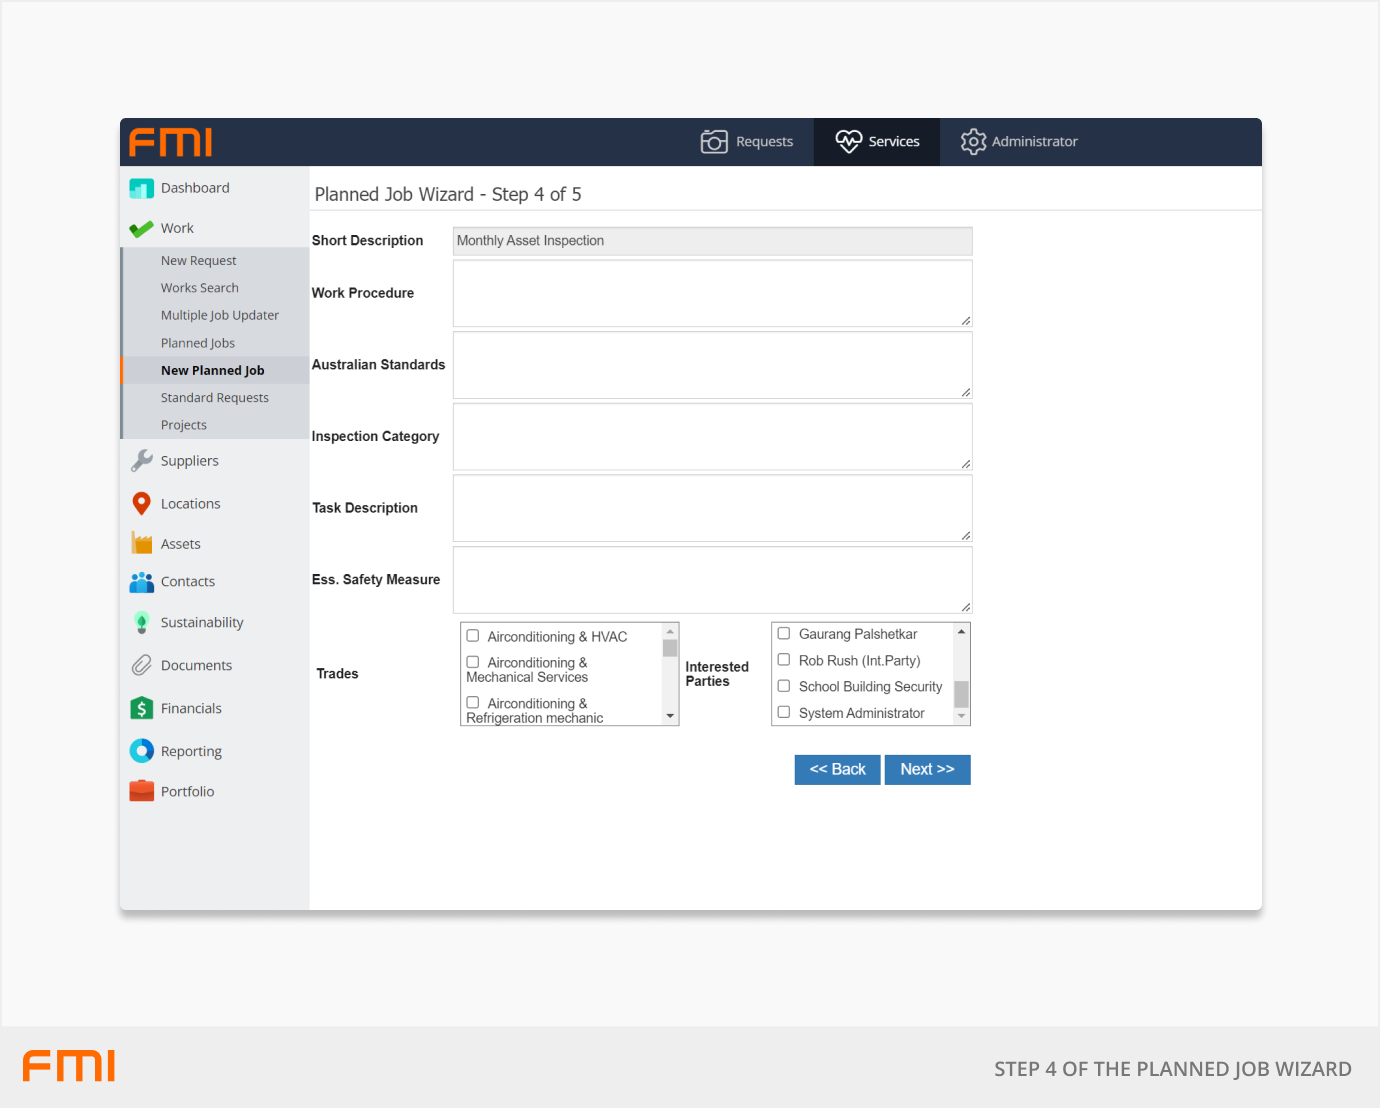
Additional information
- Australian Standards: Add references to applicable standards including ANZ Standards and applicable legislative requirements.
- Inspection Category: Enter details of specific inspection categories or types or any other information that might be useful to the person performing the work.
- Safety Measures: Reference any Essential Safety Measures applicable to this work.
- Trades: Select applicable Trade from the list.
- Interested Parties: Select applicable Interested Parties from the list.
More information
For an overview of Planned Jobs, see Getting Started with Planned Maintenance.
Or move on to How to use the Planned Jobs Wizard: Step 5.